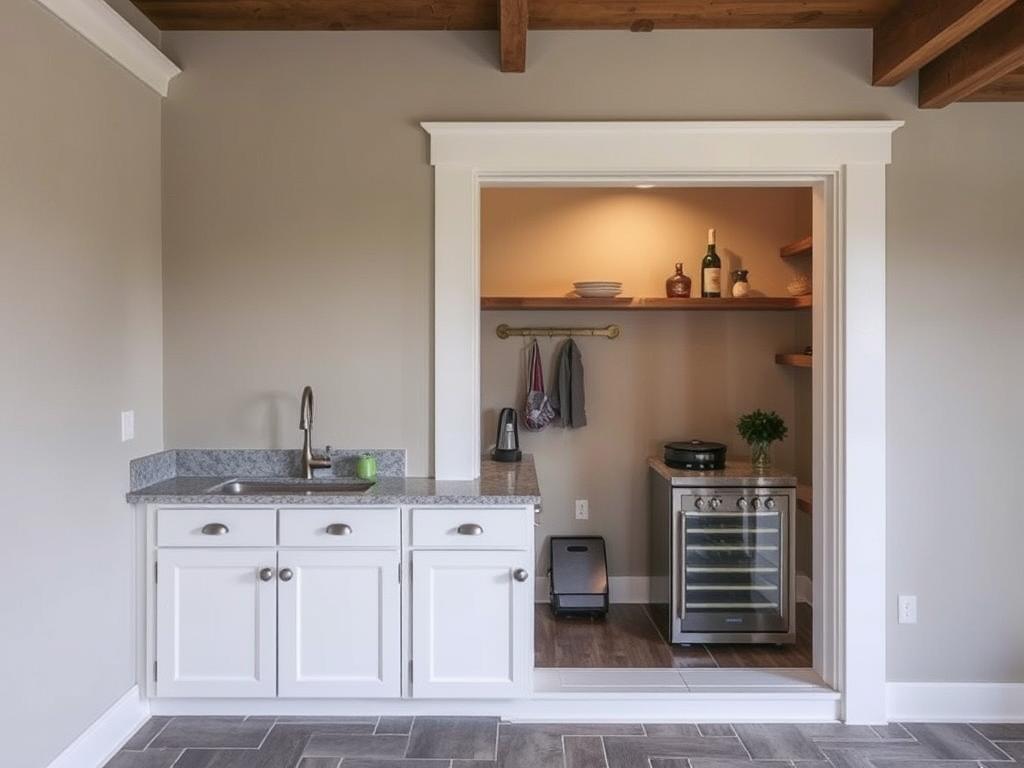
When it comes to running a successful restaurant, hotel, or café, every detail counts — and sometimes, that small detail makes the biggest difference. One such crucial element is your walk-in cooler. It’s the heart of your food storage — keeping perishables fresh, maintaining food safety, and ensuring smooth kitchen operation. But what happens when your walk-in cooler is outdated, inefficient, or no longer meets your needs? That’s when remodeling becomes not just a good idea, but an absolute necessity.
Remodeling your walk-in cooler might seem like a complex, costly process. However, with careful planning and the right approach, it can drastically improve your operational efficiency, energy savings, and even the overall look of your commercial space. Let’s take a deep dive into why remodeling your walk-in cooler is worth considering and how to approach the process from start to finish.
Why Remodel Your Walk-In Cooler?
Your walk-in cooler is more than just a big box to keep things cold. It’s an essential part of your food safety system, and its condition can directly impact your menu quality, staff efficiency, and bottom line. Here are some reasons why remodeling is a smart investment:
– **Energy Efficiency:** Old models consume more electricity, driving up utility bills. Modern walk-in coolers use advanced insulation and refrigeration technology to save money and reduce environmental impact.
– **Improved Storage Capacity:** Over time, your storage needs may grow. Remodeling allows you to optimize space, add shelving, or even increase capacity without expanding your footprint.
– **Enhanced Food Safety and Hygiene:** Outdated coolers may have poor seals, leaks, or difficult-to-clean surfaces that compromise cleanliness. Remodeling ensures a sanitary environment.
– **Modern Features & Automation:** Newer models come with digital temperature controls, alarms, and remote monitoring systems that help prevent spoilage and improve operational control.
– **Aesthetic Improvements:** Upgrading the cooler’s appearance boosts professionalism and can contribute positively to staff morale and customer perception.
Planning Your Walk-In Cooler Remodel
Starting a remodeling project can seem overwhelming. Where do you begin? The key lies in meticulous planning.
Assess Your Needs
First, analyze your current storage space, how it’s being used, and what you want to improve. Do you need more space, better insulation, or faster cooling? Do you want to add features like humidity control for specific foods? Make a list of must-have features versus nice-to-haves.
Set a Budget
Remodeling costs vary depending on the scope. Create a realistic budget that covers:
– Equipment costs
– Labor
– Permits and inspections
– Unexpected expenses
Having a clear budget helps prevent overspending and guides your decision-making.
Evaluate Your Space
Check the dimensions, access points, electrical wiring, and plumbing options. Consider whether the existing location can accommodate newer, larger equipment or if renovations to the surrounding space are necessary.
Select Your New Cooler
Research available models and features. Some key factors to compare are:
| Feature | Importance | Notes |
|---|---|---|
| Insulation quality | High | Better insulation = lower energy costs |
| Refrigeration system | Critical | Look for energy-efficient, reliable compressors |
| Size & Layout | Essential | Ensure it fits your space and storage needs |
| Automation & Controls | Nice-to-have | Remote monitoring, alarms, digital controls |
The Remodeling Process: Step-by-Step
Once you’re done planning, it’s time to execute. Here’s a general outline:
1. Hire Professional Contractors
Remodeling walk-in coolers demands expertise in refrigeration systems, electrical wiring, and building codes. Choose experienced contractors specializing in commercial kitchen equipment.
2. Dismantling & Disposal
Carefully remove the old cooler, ensuring minimal disruption to your daily operations. Proper disposal of old equipment—particularly if it contains refrigerants—is mandatory and environmentally responsible.
3. Structural Modifications & Space Preparation
If your remodel includes expanding or modifying the space, this stage involves carpentry, insulation, electrical work, and plumbing setup.
4. Installation of New Equipment
Your contractors will install the new cooler, connect refrigeration, electrical wiring, and test all systems thoroughly.
5. Final Inspection & Testing
Before putting the cooler into operation, double-check all connections, temperature controls, alarms, and safety features. Ensure compliance with health and safety standards.
Post-Remodel Tips & Maintenance
Remodeling is just the first step. To maximize the benefits:
– Regularly clean and inspect door seals
– Monitor temperature settings daily
– Schedule professional maintenance at least twice a year
– Keep detailed records of repairs and inspections
Conclusion
Remodeling your walk-in cooler is more than just swapping out old equipment for new. It’s an investment in your business’s efficiency, safety, and professional image. Whether you’re upgrading to save energy, expand storage, or improve hygiene standards, a well-planned remodel can pay off in the long run through cost savings, better food quality, and happier customers.
Remember, success lies in thorough planning, partnering with experienced professionals, and maintaining your cooler properly after the remodel. Don’t wait until your outdated system causes ongoing issues — take action now to create a modern, efficient, and reliable food storage solution that supports your business growth.
#RestaurantRenovation #WalkInCoolerRemodel #FoodSafety #EnergyEfficiency #CommercialKitchen #FoodStorageSolutions #HotelF&B #CafeUpgrade #KitchenDesign #EfficientCooling
