Running a successful restaurant, hotel, or cafe means managing a lot of moving parts, and one of the most critical components is proper refrigeration. For any commercial kitchen, having a reliable walk-in freezer isn’t just a luxury — it’s a necessity. Think about it: imagine walking into a spacious, well-organized walk-in freezer where every ingredient is stored at the right temperature, easily accessible, and ready for your culinary creations. But how do you choose, design, and install such a vital piece of equipment? Let’s dive into the world of walk-in freezers and discover everything you need to know to make the right investment for your business.
Understanding the Importance of a Walk-In Freezer in a Commercial Kitchen

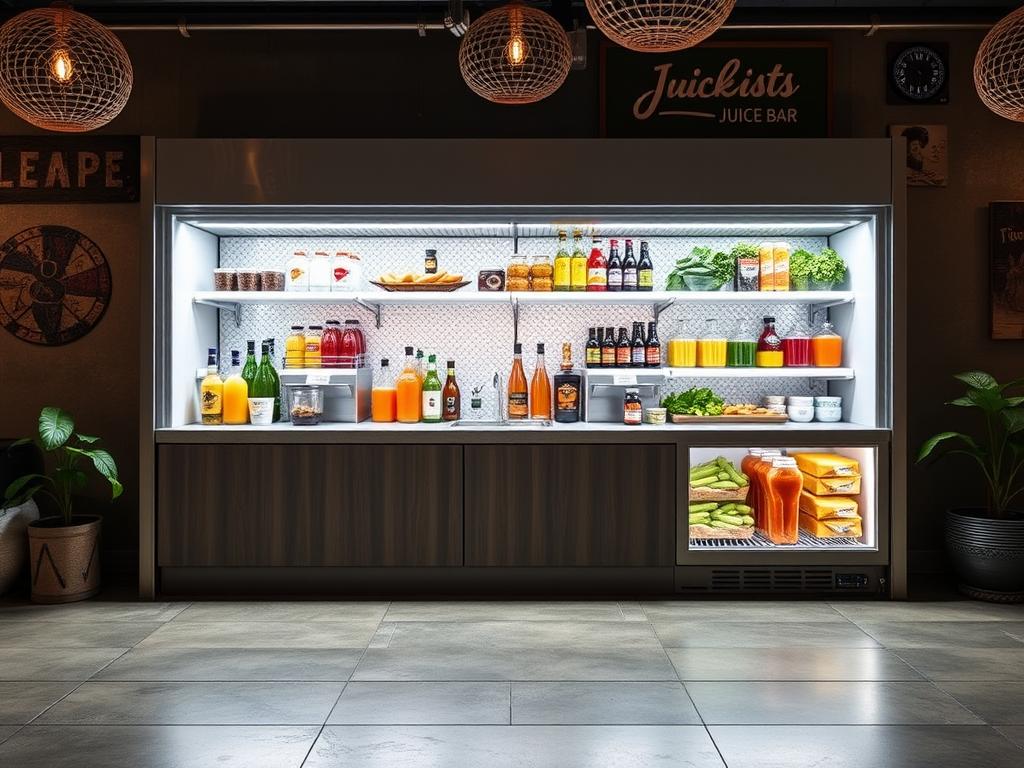
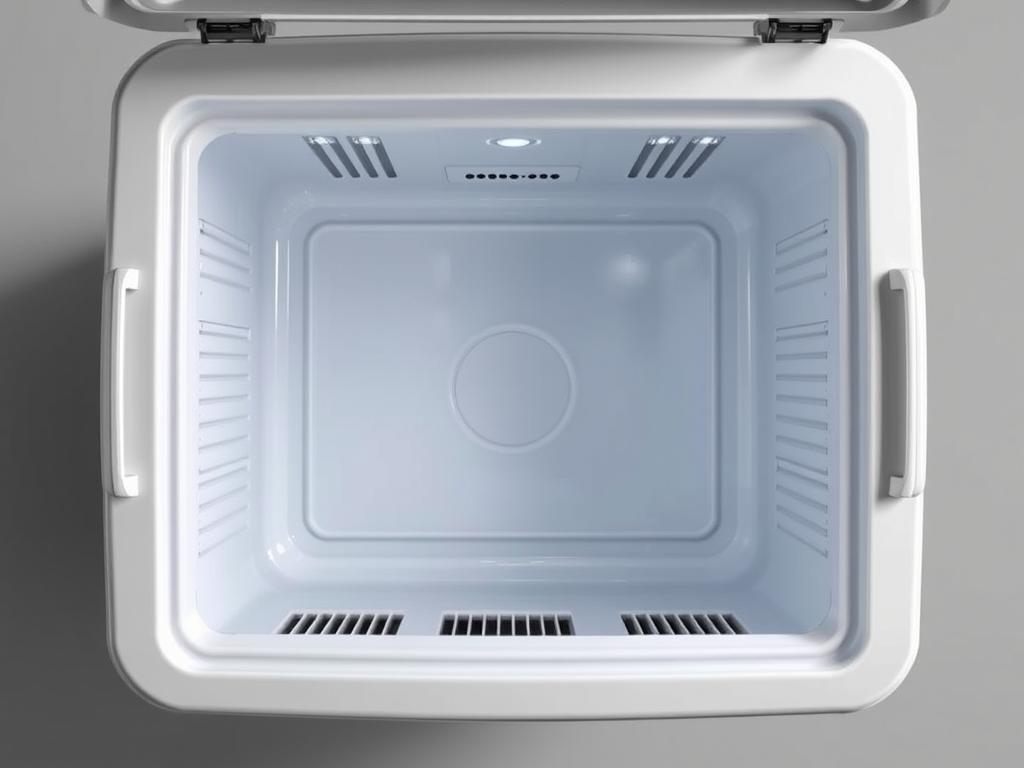
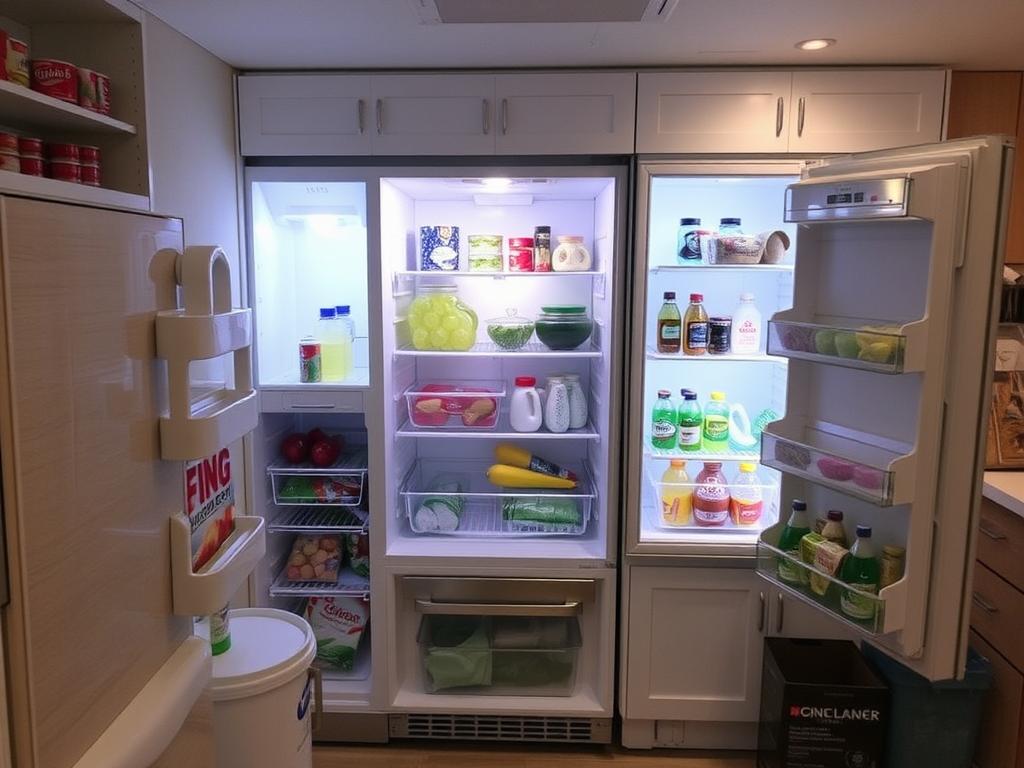
A walk-in freezer is more than just a storage space; it’s the backbone of efficient food management. With a walk-in freezer, you can store bulk ingredients, prepared meals, and perishable items safely, minimizing waste and ensuring food safety compliance. When properly designed, it can streamline your kitchen workflow, reduce energy costs, and keep your ingredients at optimal freshness.
Many restaurant owners underestimate the power of a well-planned walk-in freezer. They might focus on basic features, but the truth is, the right setup can significantly improve operational efficiency. Plus, a good walk-in freezer can handle high-volume storage — which is crucial during busy seasons or for larger hospitality venues.
Key Factors to Consider When Choosing a Commercial Walk-In Freezer
Before jumping into installation, take some time to evaluate the essential aspects that will impact your choice of walk-in freezer. Here’s a quick overview of the most important considerations:
| Factor | Details |
|---|---|
| Size and Capacity | Determine how much storage space you need based on your menu, inventory, and growth plans. Measure your available kitchen space carefully to avoid over- or under-sizing. |
| Insulation and Efficiency | High-quality insulation ensures minimal energy loss. Look for models with high R-value insulation that keep temperatures consistent and reduce electricity bills. |
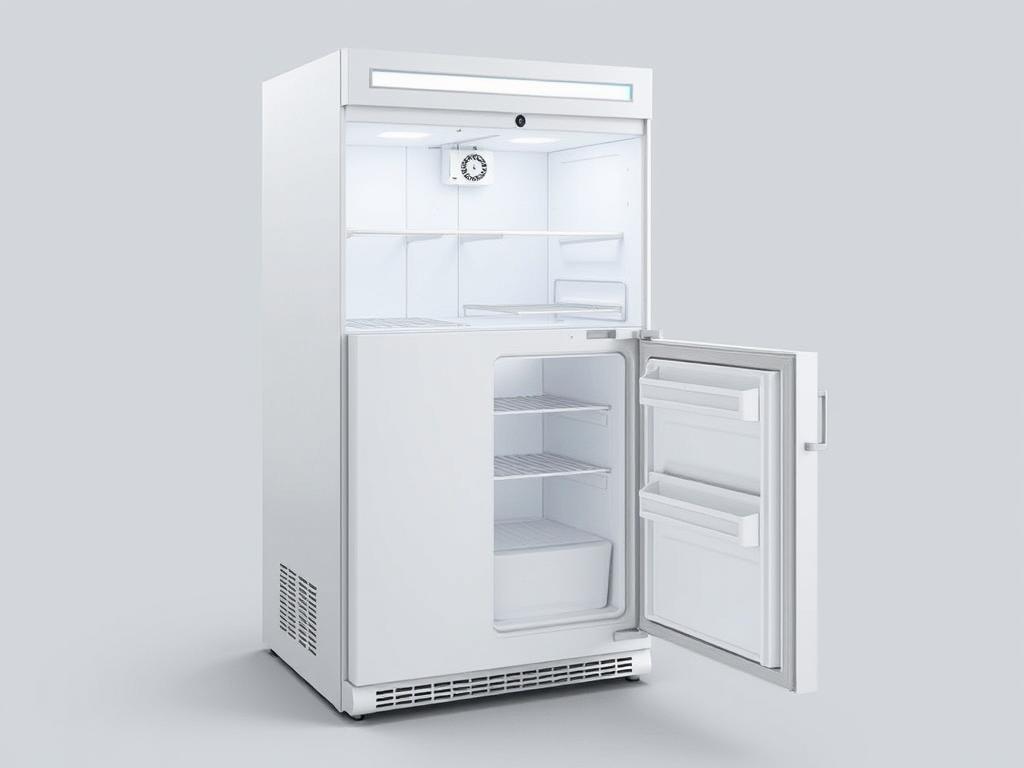
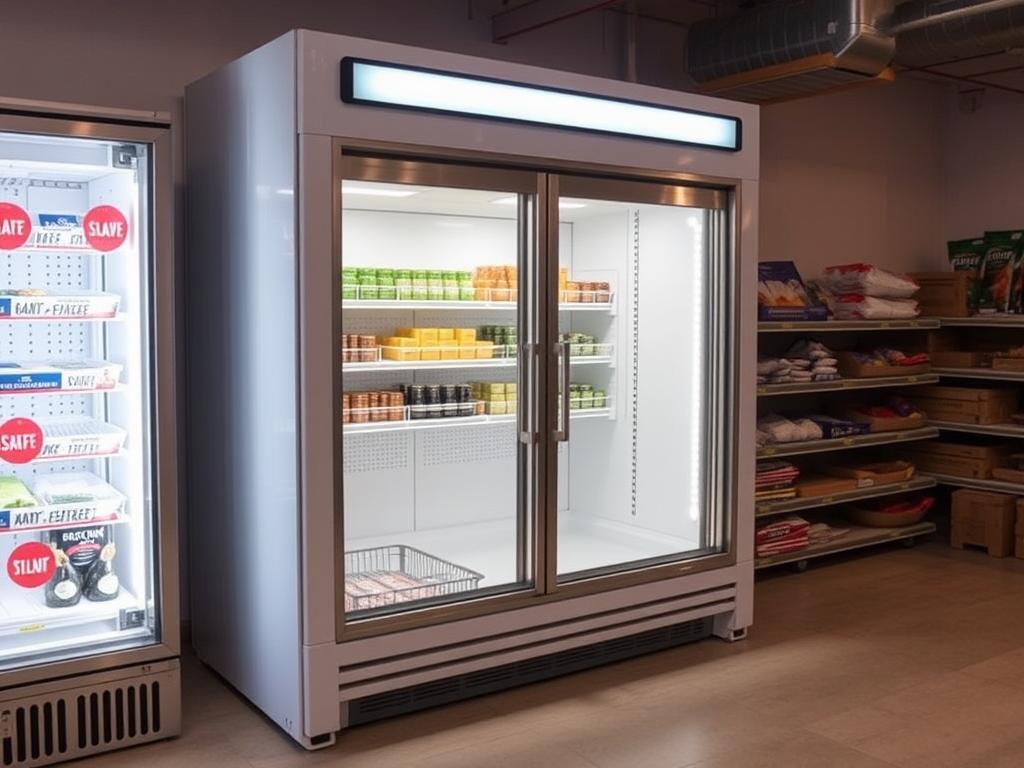
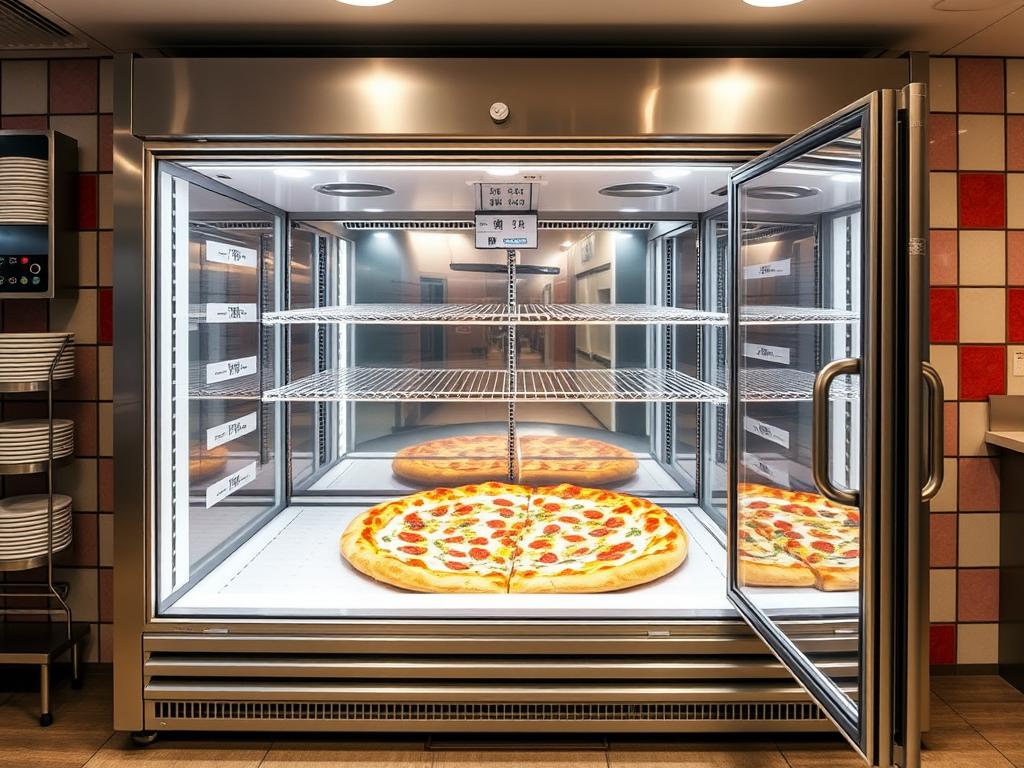
| Doors and Accessibility | Retractable or sliding doors are common. Consider ease of access, frequency of use, and whether bifold or hinged doors suit your workflow best. |
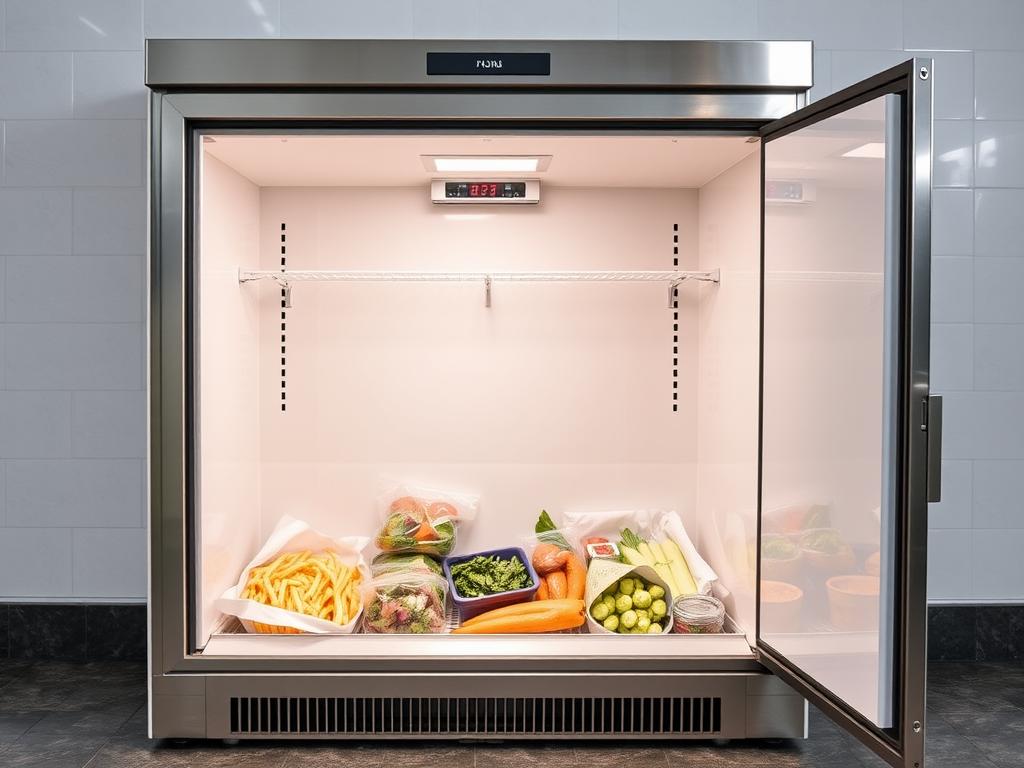
| Temperature Range and Controls | Ensure the freezer can maintain at -10°F to -20°F, depending on your needs. Modern digital controls make temperature regulation easier and more precise. |
| Material and Durability | Walls and floors made of stainless steel or durable aluminum resist corrosion and are easy to clean, vital for maintaining hygiene standards. |
| Energy Efficiency | Look for units with Energy Star rated compressors and eco-friendly refrigerants. They help lower operational costs and environmental impact. |
Designing Your Walk-In Freezer: Tips and Tricks
Once you’ve selected the right unit, designing its interior layout is the next critical step. Here’s where you transform a simple storage box into an organized, efficient space.
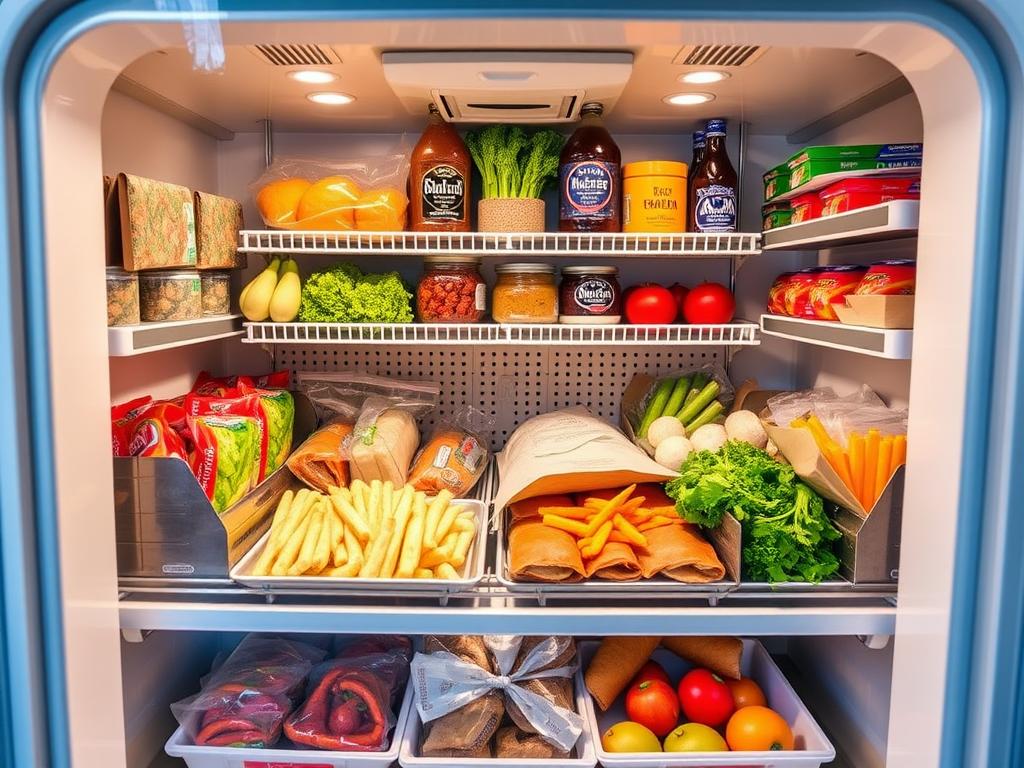
Maximize Storage with Optimal Shelving
Invest in adjustable shelving systems that allow you to customize storage based on your inventory types. Use different shelf heights for items of various sizes. Heavy-duty wire racks are perfect for airflow and visibility.
Implement Clear Zoning
Create zones within the freezer for different categories: meats, fruits, vegetables, prepared foods, etc. Label shelves clearly to make restocking and access faster.
Prioritize Safety and Hygiene

Ensure the floor is non-slip and easy to clean. Install a proper drainage system to prevent water buildup. Use materials that resist mold and bacteria growth.
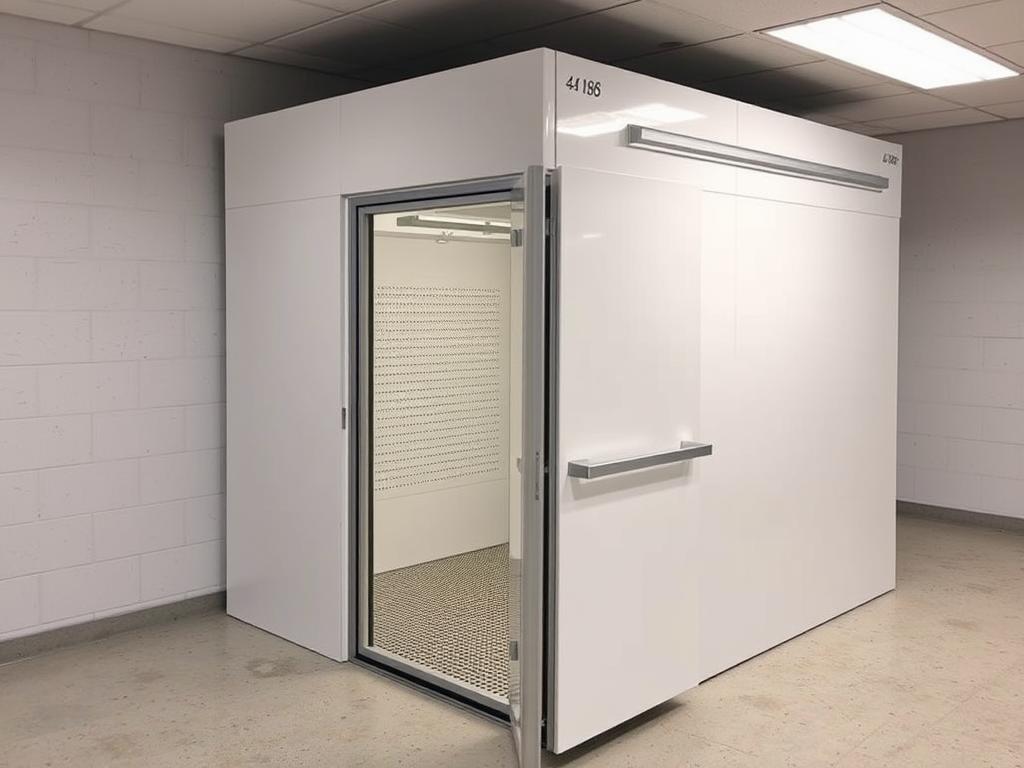
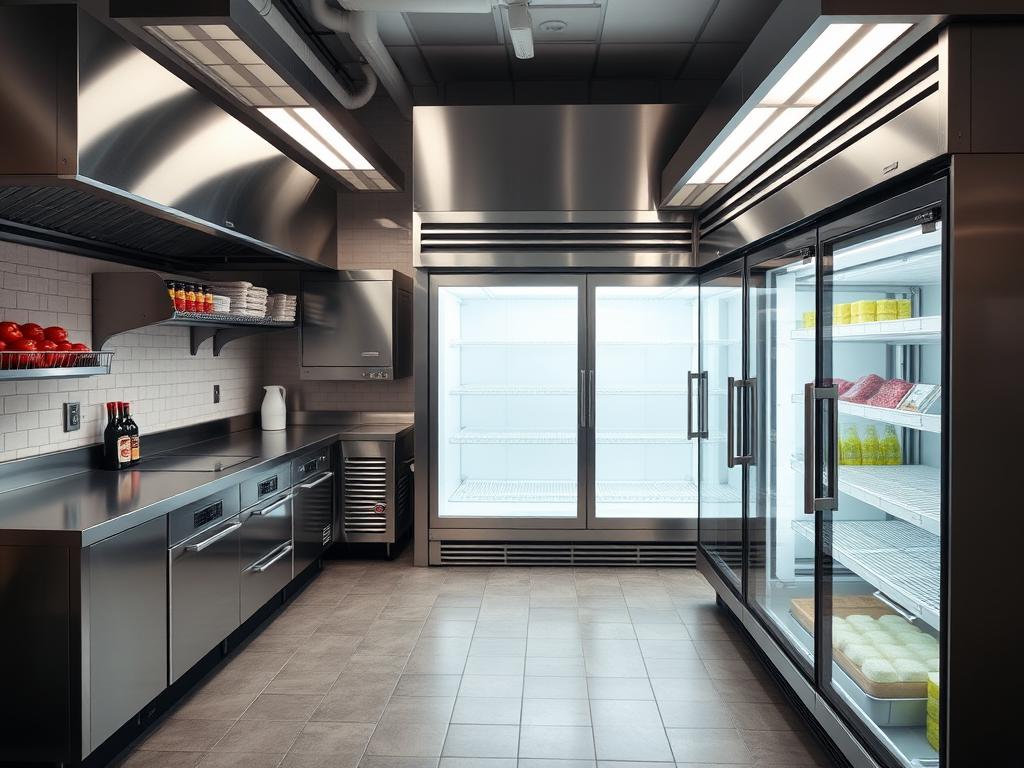
Installation Process: What to Expect
Installing a walk-in freezer isn’t just plugging in a unit; it’s a complex process that requires careful planning. Here’s a step-by-step overview:
- Site Preparation: Ensure the chosen space has adequate structural support, proper access, and electrical capacity.
- Foundation and Flooring: Reinforce flooring as needed — concrete slabs are common — and accent with easy-to-clean surfaces.
- Insulation and Wall Assembly: Erect insulated walls, ensuring airtight seals.
- HVAC and Refrigeration Setup: Connect compressors, evaporator coils, and ventilation systems.
- Door Installation and Sealing: Properly fit the doors with magnetic gaskets for airtight closure.
- Interior Shelving and Accessories: Install racks, lighting, and controls.
This process requires coordination among contractors, refrigeration specialists, and designers to ensure everything works seamlessly.
Maintaining Your Commercial Walk-In Freezer
Once installed, ongoing maintenance is key to extending the lifespan and efficiency of your walk-in freezer. Regularly check the temperature settings, clean the condenser coils, and inspect door seals. Schedule professional inspections annually to identify potential issues before they escalate.
Benefits of Investing in a Quality Walk-In Freezer
Investing in a high-quality walk-in freezer results in numerous benefits:
- Reliable temperature control for food safety
- Energy-efficient operation reduces costs
- Durable construction minimizes repair bills
- Optimized organization improves workflow
- Enhanced capacity supports business growth
Trust us, when you have a well-designed and maintained walk-in freezer, Food safety, staff efficiency, and customer satisfaction all improve.
Conclusion
Creating the ideal walk-in freezer for your commercial kitchen involves careful planning, selection, and installation. Whether you’re upgrading an existing space or starting fresh, remember that this investment pays off by providing reliable, organized, and efficient storage. Think about your specific needs, focus on quality components, and don’t skimp on professional installation. Your kitchen, staff, and customers will thank you for it. A good walk-in freezer isn’t just a box — it’s the backbone of your culinary success!
Share your kitchen upgrade journey! #CommercialKitchen #WalkInFreezer #RestaurantDesign #FoodSafety #KitchenUpgrade #CulinarySolutions #FoodService #KitchenEfficiency